Learn how to make unique eco printed fabrics with leaves
What is Eco Printing? It is a unique natural dyeing or printing technique that transfers the color from leaves and flowers to another surface. It goes by many different names including Botanical Dyeing, Leaf Printing and Eco Dyeing.
I was first introduced to the eco print method when I took a basic class at a fiber festival and fell in love with this amazing art form! As you will see, I made a lot of mistakes in my first prints but over time, I learned the tips to getting good, clear leaf prints, even on cellulose fibers like cotton.
So, let me show you step by step the basic technique of Eco Printing with black walnut and maple leaves printed on silk chiffon and cotton fabric using liquid iron as a modifier.
These are the basic steps of making eco prints on fabric:
- Mordant the Fabric
- Soak the Plant Materials
- Place the Leaves and Flowers on the fabric and fold it over
- Tightly roll the folded fabric onto a PVC pipe or heavy stick
- Steam or simmer the bundle

UPDATE! My second prints worked out much better! Scroll to the bottom to see the new pictures.
What is Eco Printing or Eco Dyeing?
The way I understand it, Eco Printing is a form of natural dyeing where the colors from plant material are transferred to paper or fabric via steaming or boiling. (If anyone out there has a better definition, by all means let me know).
Eco Leaf Printing was first created (discovered?) by fiber artist and teacher, India Flint. Ms. Flint is the author of a number of books on the subject of eco dyeing.
Is eco printing permanent?
As with all forms of natural dyeing, the answer is ‘that depends’. It depends on what kind of fabric you used, how well your fabric is mordanted and if the prints are thoroughly ‘set’ by steaming or simmering.
Even if all of the above steps are done correctly, your prints may still fade with time or if exposed to sunlight for long periods of time.
“According to Suzanne Dekel of Dekel Dyes, if you are not happy with your prints, just think of the ‘flop’ as a first layer of something new and use it for another print!”
SAFETY NOTE: Even though it is called ‘Natural Dyeing’ and ‘Eco Printing’ and ‘Eco Dyeing’, be aware that some substances used can be very toxic. Follow safety precautions by using gloves and a dust mask.
Materals and Tools:
Here is a list of the supplies that I, personally, use!
- White Silk Chiffon, Habotai Silk or Cotton Fabric
- Various Leaves
- Iron or Ferrous Oxide
- PVC Pipe or Dowel Rod
- Old Roasting Pan
- Stove or Portable Burner (so you can do this outside)
So, here is my very first piece of Eco Printed fabric. For this project, I chose silk chiffon (only because I have plenty of it left over from nuno felting).
Also, because the info I have read says that silk does not need a mordant for eco printing. However, you can use mordants to achieve different colors and textures.

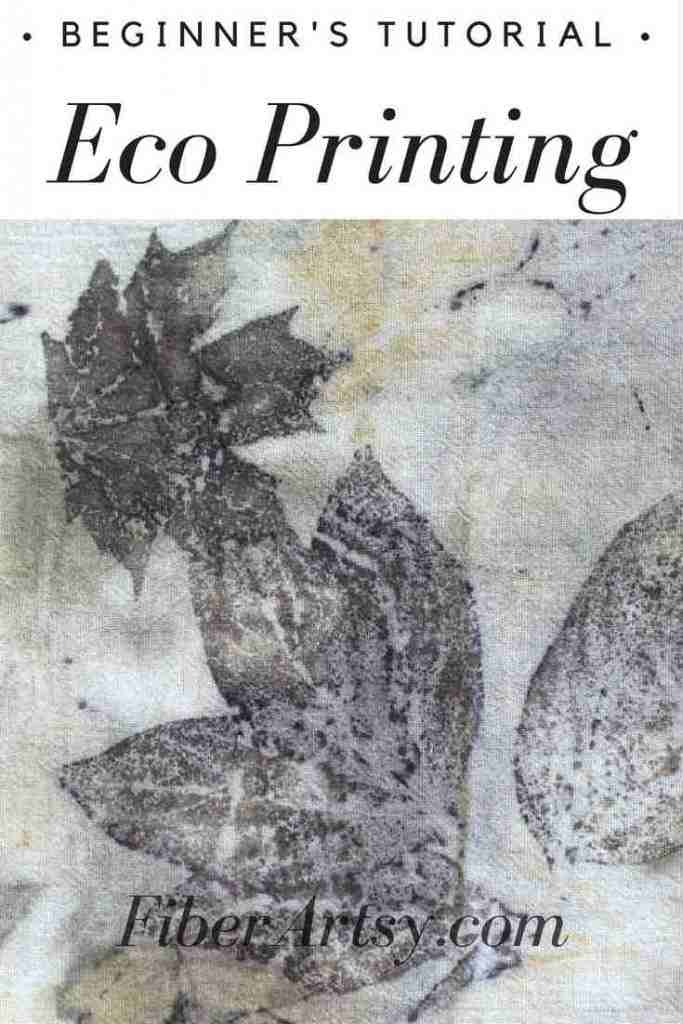
Maple and Black Walnut Leaves Eco Printed on Silk Chiffon

Black Walnut Leaves Eco Printed on Silk Chiffon Fabric
For my first eco printing experiment, I used whatever leaves I happened to have available in the yard: black walnut, red maple, green maple, cleome, croton and redbud. These were laid out on half of the dry silk chiffon fabric.
Lay out The Leaves

Maple, Green Maple and Black Walnut Laid Out on Silk Chiffon
Roll up the fabric
I folded the other half of the chiffon over the leaves and rolled the whole thing, very tightly onto a piece of pvc pipe. You can use a dowel, stick or even a piece of pipe for this.
Note: depending on what metal the pipe is, it may act as a mordant s.a. a copper pipe which will alter the result.
Next, I wrapped a cotton string around the package, again very tightly to make sure there is good contact between the fabric and the leaves for printing.


Learn more about this cool technique with my 9 Top Eco Printing Tips & Tricks and How to Eco Print on Paper
Steam the bundle
Then, I steamed the bundle over plain water for about 1 1/2 hours. Let this cool completely and left the bundle to set overnight. The longer the better but I don’t have the patience to wait. It’s too much fun opening it up to see what you got!
Not surprisingly, the black walnut leaves printed the best. Black walnut contains its own mordant (tannin??) and is washfast and colorfast.

I was also very happy with the red maple leaves which left a pale but very pretty lavender/lilac colored print.

The other leaves didn’t do much, altho I did get a pale yellowish print from the redbud leaves.

Considering this was the first attempt at eco printing on fabric, I was very happy my results. The second batch turned out much much better.
I learned how to make an iron modifier which dramatically changes and deepens the colors of the printed leaves. (See my UPDATE below)
There are so many wonderful websites out there with great info on eco printing but I must give a special shout out to Threadborne. So much information there on eco printing, I think I read every word on the whole site.
UPDATE!
For my second Eco Printing project, I used an Iron Modifier. People sometimes call it a Mordant but in this case it’s used to “modify” the color. (See how to make an iron modifier below)

Instead of silk chiffon, I used cotton flour sack dish towels. FYI, those are the BEST kitchen towels ever made.
I dipped the leaves in my iron modifier before laying them on the fabric. That’s really the only difference in the technique. The rest of the process was the same as above.
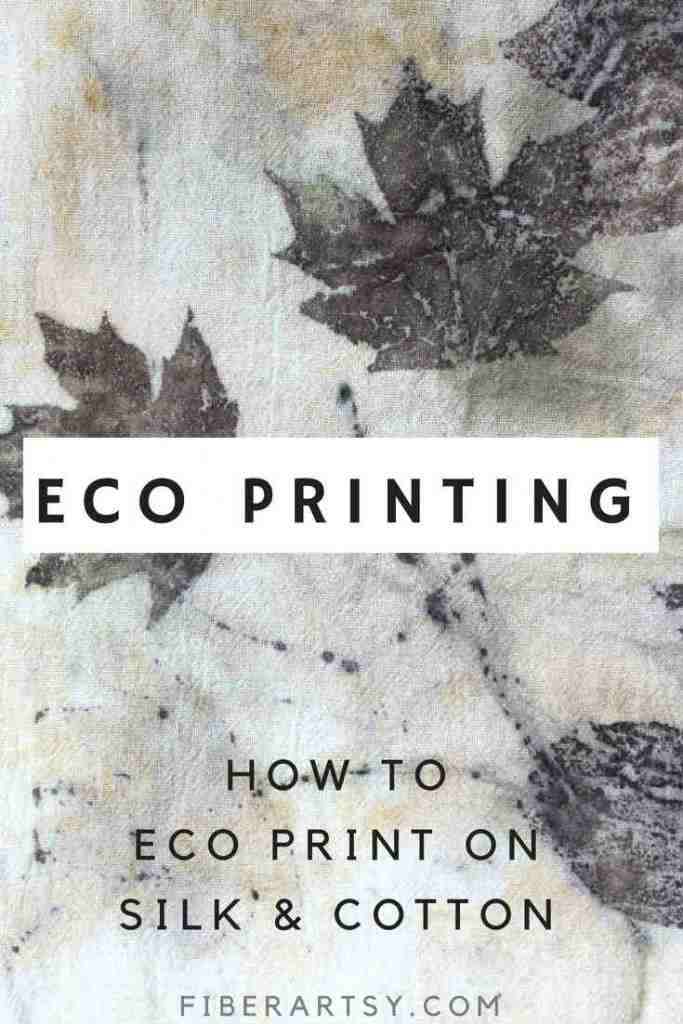
As you can see, the resulting prints are much deeper and clearer.


A friend recently gave me some eucalyptus leaves so that’ll be my next eco printing experiment. I’ve seen some beautiful results with those.
Enjoy!
Annette
This is worth repeating …..
SAFETY NOTE: Even though it is called ‘Natural Dyeing’ and ‘Eco Printing’, beware that some substances used can be very toxic.
Before you try any natural dyeing methods at home, please do your homework first! Here’s a great article on various mordants and their uses.
FAQ:
Who discovered eco printing?
While I am not sure who actually was the first person to discover making eco prints, a fiber artist named India Flint popularized this art form.
She describes herself as “botanical alchemist, forest wanderer & tumbleweed, stargazer & stitcher, string twiner, working traveller, dreamer, writer and the original discoverer of the eucalyptus ecoprint, dyeing for a living in the deep south of Australia.”
How do you make an iron water mordant or modifier
Liquid iron or rust water is one of those substances that really bring out the colors in the leaves and flowers. It darkens and deepens the natural dye where the print may normally be very light or even non-existent without it.
Making your own rust water is easy but it does take a few weeks of time. All you need are some rusted bits of hardware: nuts, bolts, screws or, etc. Check out how to make an iron modifier for step by step instructions.
Keep in mind, that when you use your homemade iron, there is absolutely no way to determine the strength of the mix. Therefore, if you are short on time or need to know the exact formula, I recommend you make your mordant using a ferrous oxide powder.
Can you ecoprint with dry leaves?
Well, I used to think that you can’t but I was wrong! You absolutely can use dried leaves. They may not have the same amount of natural dye in them as fresh leaves but there is still some.
The trick to using dry leaves is to reconstitute them by soaking them in warm water before use.
Hint: Collect fresh leaves in the growing months, and then press them or freeze them for use in the Winter when you can’t find any.
Can you print on synthetic fabric?
If you have done even a little bit of online research into natural dyeing, in general, then you have probably read that you cannot print on synthetic fabric. In my experience, that is not true!
In one of my earlier eco dyeing experiments, I used polyester hankerchiefs that I happened to find at the dollar stores. My plan was to use these as a barrier layer on top of the leaves, to keep the prints from bleeding through.
Well, as it turned out, those hankies took the leaf prints beautifully! This does not mean that I recommend you run out and get some polyester to print on. You are better off sticking with the tried and true fabrics like silk, wool and cotton, especially if you are a beginner.
Related Eco Dyeing Articles
How to Scour Cellulose Fabric such as Cotton and Linen
How to make Natural Dyes from Food
Ecoprint with Flowers on Paper
How to make a Journal with Eco Dyed Paper
Eco Printing with Eucalyptus Leaves
All Natural Dyeing with Black Beans
Related Fabric Dyeing Tutorials
9 Top Tips and Tricks for Eco Printing
Shibori Dyeing Tea Towels with Rit Dye
Exploring Shibori: Kumo Fabric Dyeing
Reverse Tie Dyeing with Bleach
Marble Dyeing Silk Scarves
How to Tie Dye a Heart Shape
Printing on Fabric with Silk Ties


