How to easily make a Glass Garden Art Totem Pole for your Garden
Here is a super easy way to create a piece of unique art in your own garden! You can make your own Glass Totem in just a few hours using only thrift store glassware and this clear silicone caulk!
The other day, my hubby and I went to our favorite garden nursery in search of vegetable plants and flowers and guess what else I found …. funky yard art!
They had every kind of garden art you can imagine from the normal whirly, iron weather vanes and garden statues made from old pitch forks to some really cool, Glass Garden Totem Poles.

These glass totems came in a variety of sizes and shapes. Some were as high as 6 feet tall. Each one was unique but my favorites were the totems with glass balls and rounded shapes.

What I didn’t really like, tho, was the price. Garden art pieces are very expensive. And, of course, my hubby said ‘You can make that!’. Funny he always says ‘You‘ lol.
So, of course, what do I do? Figure out how to make my own garden totem pole. I found this tutorial which gave me the basics of how to make a glass totem.
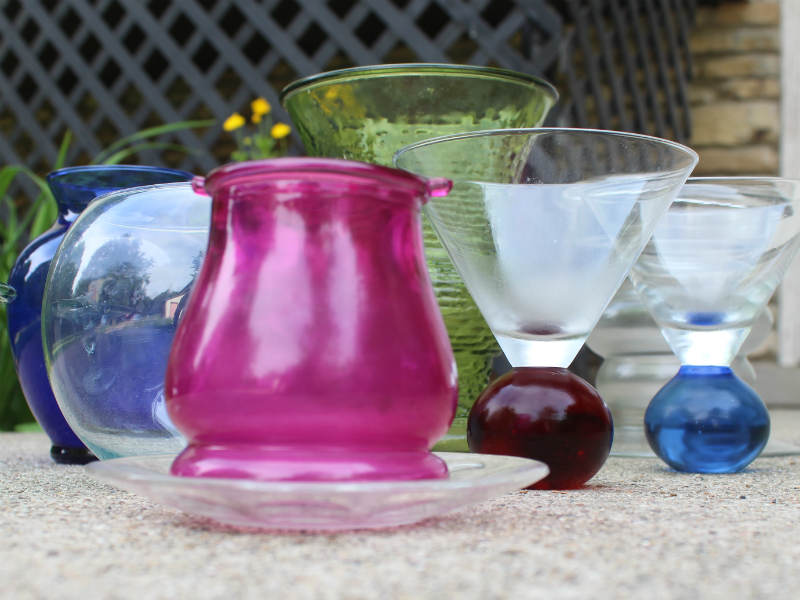
Then, we headed to the local Goodwill store and found some really cool glass vases and wine glasses.

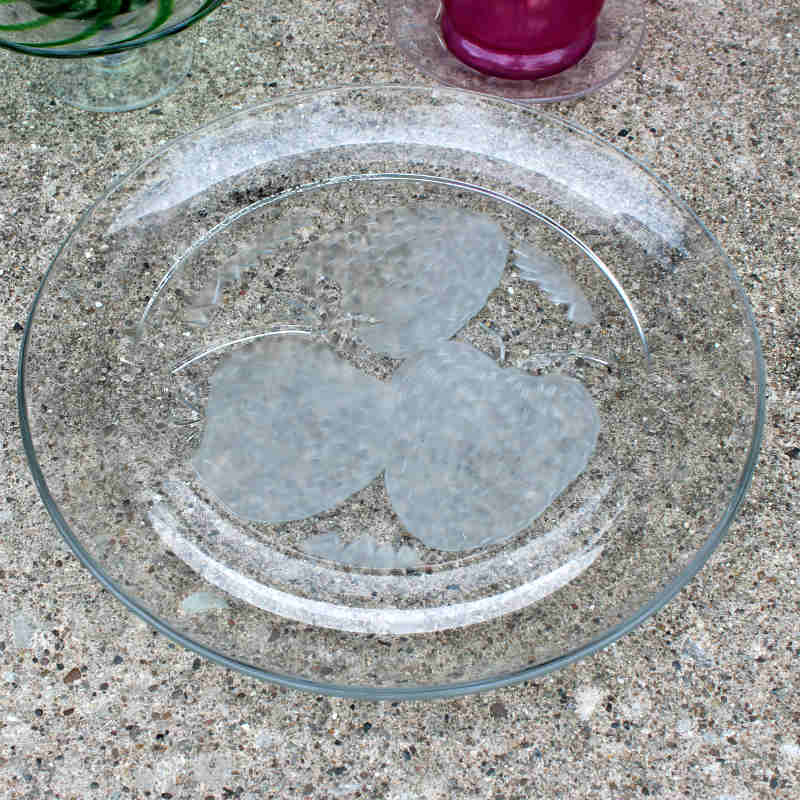
After a bit of research, I found out you need to have a somewhat large, strong base such as a heavy platter to build your totem on.
The heavier the base of your totem, the sturdier the whole piece will be. You don’t want it to fall over in a storm.

Supplies:
– Various Glass Vases, Candle Holders and Wine Glasses
– Clear GE 100% Silicone II or E6000 Caulk
– Colored Glass Gems (optional)


Assemble Your Glass Garden Totem
Start by trying out different combinations of glasses and vases together to get a feel for the overall look that you want. I did not want my totem to look like a bunch of wine glasses glued together, even though that’s what it is.
Small, glass saucers work well in between glasses. They also make it easier to glue the glasses together.


At the thrift shop, I found two really cool triangular wine glasses with heavy globe bases in deep blue and red. Of course, I managed to break the blue one … my favorite.
Well, I really wanted that round blue base for my totem, though. I don’t recommend you do this but I very carefully managed to break the rest of the clear glass off of the blue ball.


I started my garden totem with the glass platter at the bottom and then I added a round, clear glass candle holder/fish bowl. On top of this, I glued a heavy clear vase and then a smaller, deep blue vase.
Apply Adhesive Caulk
Cut the tip of your tube of Silicone caulk at an angle. Then, squeeze a line of caulk all along where the two pieces of glass will meet.
You don’t want any gaps in the caulk. Set the pieces together and let dry according to the directions on the caulk.


I ended up moving my project inside because it was too humid out. Notice the condensation on the large clear vase? The silicone had no intention of drying so I just took the whole shebang into the house.
Since the silicone was not drying as quickly as I hoped, the heavy pieces at the bottom were not setting up. I held onto those pieces with a fan blowing on them for about 10 minutes which was enough to hold them together.
Then I let it dry overnight before adding more glasses.

In the meantime, I managed to attach the blue glass ball to the bottom of my tall wineglass with a lot of silicone and a bunch of glass gems. This will be the very top of the totem.


Once the individual pieces were firmly glued, I assembled all of the parts. Then I let the piece dry overnight to make sure it wouldn’t come apart.
Hints and Tips for your Garden Totem
When choosing which glass pieces to use, obviously, you’ll want to start with the larger, heavier pieces at the bottom and gradually add smaller, more delicate glasses and candle holders. You don’t want your totem to be top heavy.
Also, pay attention to the way the pieces fit together. Some glasses have very narrow edges which makes it more difficult to get a good seal between the pieces. But don’t let that deter you. Try it and see.
If you get too much silicone caulk on a seam and it looks messy, you may be able to cover it up with glass gems.
The finished totem is about three feet tall and surprisingly sturdy. This was such a fun project! And since I have several pieces left over, I’ll probably make another one. Maybe I’ll make a Glass Bird Bath next time.
These totems are also a great gift idea, especially for your favorite gardener.
Enjoy!
Annette
You might also like my DIY Plant Markers and Labels, Easy Macrame Plant Hanger and How to Make Alcohol Ink Art Switch Plate Covers
How to make a DIY Glass Garden Art Totem

Here is a super easy way to create a piece of unique art in your own garden! You can make your own Glass Totem in just a few hours using only thrift store glassware and this clear silicone caulk!
Materials
- – Various Glass Vases, Candle Holders and Wine Glasses
- – Clear GE 100% Silicone II or E6000 Caulk
- – Colored Glass Gems (optional)
Tools
- No special tools needed
Instructions
- Decide which pieces to stack on top of each other by doing a dry run before glueing. Place the larger pieces at the bottom and add progressively smaller ones
- You will glue your pieces together, two at a time. Cut the tip off the Silicone Caulk and apply a bead of glue along one piece where it will attach to another. Place the two pieces together and hold for a minute.
- Once all glasses are attached, allow it to dry completely.
Recommended Products
As an Amazon Associate and member of other affiliate programs, I earn from qualifying purchases.


